Let's start with the basics, Safety gear. Always wear gloves, eye protection, long sleeves, pants, and close toed shoes. While using caustic soda (lye) it is very important to respect it. If it gets on you, it will burn. It's nasty stuff but if you are cautious and diligent, there is nothing to fear. Raw soap batter will also burn like the dickens, so take precautions and there is nothing to worry about.
Let's talk lye. There are two forms of lye. Sodium Hydroxide, or NaOH is used to make bar soap. Potassium Hydroxide, or KOH is used for liquid soap. Now, this whole back to roots movement, again while wonderful, has many people reading up on how to make their own lye. What these websites fail to mention is #1, everything I said above and #2, how unreliable that is. For the chemical reaction to work properly, the lye needs to be a certain strength. There is no reliable at home test to know the concentration level of your caustic soda. Also, homemade lye will yield potassium hydroxide. I am not saying that you can't do it, but why? Lye is readily available at a decent price and you know that it is safe to use. The strength and everything has already been worked out for you. No need to worry about harming yourself or your loved ones because you didn't know how strong your lye was. Here are a couple of suppliers that I have purchased lye from...
The Lye Guy - www.thelyeguy.com
Essential Depot - www.essentialdepot.com
You can also find it sometimes at the local hardware store. Red Devil brand is very popular but you need to make certain that it is 100% pure lye. That there are no other additives (mainly liquid form). Some have metal flakes in them. So just read the label. Also, you may have to ask a worker for it. With the rise in meth labs, lye has become highly regulated OTC.
Now on to the fats and oils. This is where the magic happens. There are literally hundreds of differents oils and fats you can use to make soap. Each one will contribute a different property to the end result. I happen to love using olive oil, coconut oil, and avocado oil. After much research, testing and more testing, this is the combo I love the most. But to each their own and what you find you love, others will not! Many people love to use lard or tallow because they are readily available and not too expensive. I personally have never used those but have to plans to try it in the future. I have heard they make a great hard bar of soap. So think about what you want your soap to be like and also what you want it to do. What kind of lather do you want? Big fluffy bubbles or creamy soft lather? What purpose will this soap serve? Gentle body cleansing or strip the oils off a garage floor? Do some reading on the different oils and what they contribute to the soap. Here is a good resource for that. Soapmaking Oil Chart
 |
| Pretty bar!! |
Now for the fun part, scents, colors, and other additives. Many people enjoy just a simple, unscented, uncolored bar of soap. Those are the people I call fuddy duddies because why use that when I can use a beautiful, smells like heaven bar? I'm just kidding, but seriously, why?
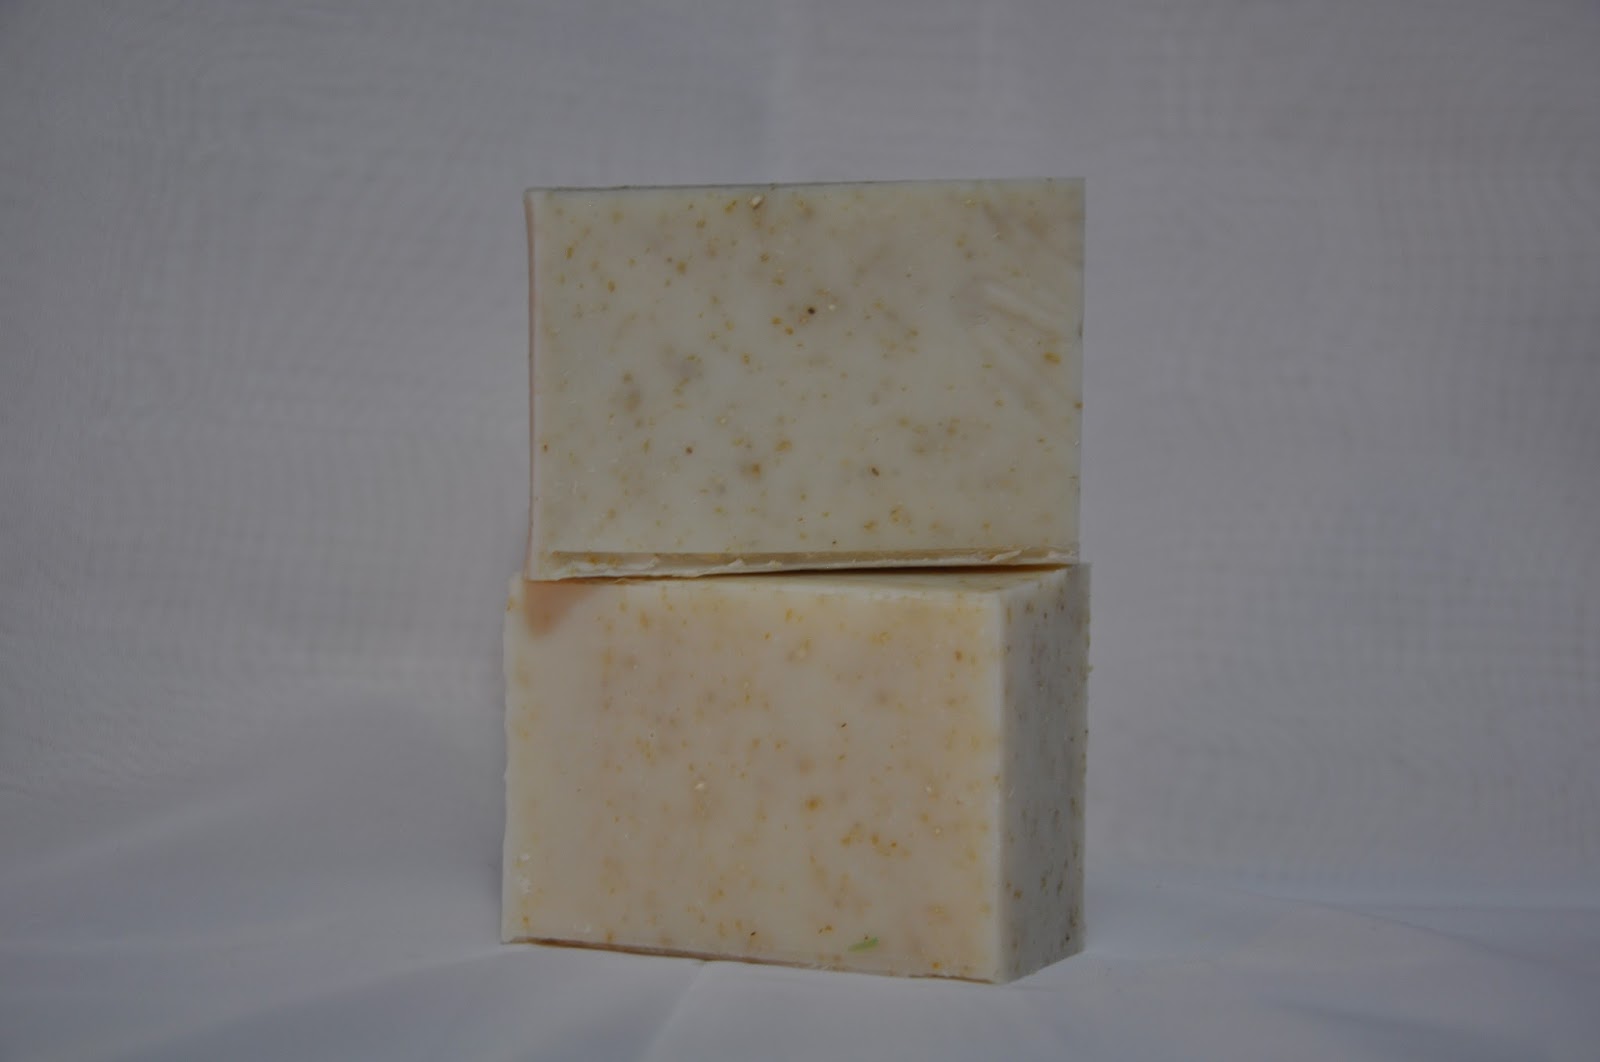 |
| Lavender Oatmeal |
These are two of my soaps that I have done. As you can see, one is a more natural bar that I scented with Lavender Essential Oil and added ground oatmeal. The other I used a fragrance oil and pretty micas, then used a decorative mold to create the shape. Which ever style you prefer, it's always better to make your own soap than use store bought detergents (they aren't real soap!). There are lots of places you can purchase fragrances or essential oils but make sure you are buying a skin safe, soap safe oil. Some fragrances are made specifically for soap and body products, some strictly for candles, and some are dual purpose. I recommend purchasing from a reputable soap supplier such as BrambleBerry or Nature's Garden. They supply both essential oils and fragrance oils. They also supply colorants, natural and not.
There are a few more supplies you will need to make a batch of soap. A good scale, preferably one that measures in ounces and grams. A mixing bowl, I use plastic buckets from the local Ace hardware. A heavy duty plastic pitcher to mix lye in. Please do not mix your lye in a glass container. I know many "articles" say this is fine and it can be, but there is always the possibility that the glass can shatter. Let's not risk it. You will also need molds of some sort. You can purchase molds, make your own wooden molds, or even use household items, like pvc pipe ( I haven't worked up the courage to use this yet as I hear it's hard to get the soap out sometimes) or the paper milk cartons. It doesn't have to be fancy, it just has to get the job done. I like wooden molds lined with freezer paper or silicone molds. Again, some good reading can be done to determine molds and if they should be lined or not. A few note worthy tidbits, never ever EVER use aluminum for soap making. If you prefer to use a metal bowl or spoon vs plastic or a spatula, make sure it is Stainless Steel. Aluminum reacts with lye creating toxic fumes. Don't want that. A stick blender helps speed the process along but is not necessary. A good wire (stainless steel) wisk and a lot of arm strength and patience can get the job done. Once you have gathered all your supplies and safety gear, done some research and have a plan in mind, you are ready to make soap!
I am not going to go into detail in this post about the entire process because my couple of other posts have that in them ( I think, if not, let me know and I will write it up) but I am going to talk about some safety issues. I've already touched on using plastic to mix your lye solution in but there are a couple more things you need to know. #1, always add your lye to your water, never the other way around. It can erupt like a volcano and you will have a very caustic mess on your hands and possibly severe injuries. Sprinkle the lye in slowly to avoid splashing. #2, mix your lye solution either outside or in a well ventilated area. As the lye dissolves (as you stand there stirring) it is producing highly toxic fumes. You do not want to breathe these in. It can knock you on your butt and then there's the possibility of the pitcher getting knocked over and again, caustic mess and/or severe injuries. Always wear your safety gear while mixing the lye. And yes, I have gotten the strange looks from my neighbors while outside in my long sleeves, pants, close toed shoes, goggles, aprons, and gloves in the middle of summer, stirring a mysterious pitcher of liquid. I can only imagine what they were thinking.
 |
| (Courtesy of Breaking Bad) |
So I hope I have touched on most of the basics. I love helping people learn to do something that I am so passionate about. There is tons of information out there but you have to weed through the bad to get to the good. I am going to list some good resources for you at the end but if I have missed anything or you have any questions, please ask! The only stupid question is the one not asked. And please, follow my page on Facebook, Soapy Haven Bathworks.
Resources: